Setup Dogecoin network node on Ubuntu


Intro
In this article I’ll be showing how to setup a full Dogecoin network node on Ubuntu 20.04. This might be useful if you want to interact directly with blockhain (e.g. create transaction, send/receive coins, validate network addresses) or just help community providing your server to make network stable and operable.
Your instance should have at least 2Gb of memory and 80-100Gb of free disk space (current blockchain size is about 50Gb). Setup should also apply for previous versions of Ubuntu but I have verified it only for Focal Fossa, so there is no guarantees for these exact commands to work. Reach to the official build notes to adjust commands if needed.
Prerequisites
It’s always a good idea due to security reasons to create separate user that will be running the daemon process and will be isolated from the rest of the system.
1 | $ sudo adduser doge |
The rest of the article assumes that we are working as a doge user. To switch user (e.g. if you are root currently) type this command
1 | $ sudo su - doge |
Now we are ready to proceed with installation. First of all we need to ensure all the dependencies required are in place
1 | $ sudo apt update |
We’ll be working from home directory /home/doge, so make sure you have navigated to your target dir if you plan to install everything elsewhere. Clone source code and define a shell variable to be used within build process
1 | $ git clone https://github.com/dogecoin/dogecoin.git |
Install Berkeley DB
Another dependency is Berkeley DB which is used to store wallet data. Although you can install different version of it 5.1 is recommended in order to maintain portability of the wallet between the standard Dogecoin Core distributions.
The easiest way to install it is by using this automation script
1 | $ curl -SL -O https://gist.githubusercontent.com/bmwant/adc877cb667a22ff458078118c0bcea8/raw/043b54931ca851094e3dc10875db34042605ad6a/install_db5.sh |
In case you want to have a full control over the process you can do that manually by following these steps from build docs.
Build Dogecoin core
Make sure you have already exported variable for the BDB_PREFIX in current shell. If you are not sure you can always check by typing
1 | $ printenv | grep -i bdb |
Compile binaries from source code with steps below
1 | $ cd $DOGECOIN_ROOT |
Note: We are not installing graphical user interface here which requires Qt and other dependencies to be installed.
In case you want to have UI to interact with your wallet you have to include these steps and remove--without-guiflag from instructions above.
Installation is finished, so run this command to install executables and make them available within PATH
1 | $ sudo make install |
Optionally you can run tests to confirm that everything works properly for the codebase downloaded
1 | $ make check |
Launch
Daemon will start downloading full blockchain, so confirm that you have enough space on your disk by running df -h.
Additionally you might want to store the data on a separate volume to isolate from the rest of the system and that’s exactly what I’ll be doing here. In order to accomplish this we need to pass extra flags prior to launch
1 | $ which dogecoind # make sure executable is reachable |
If you are ok to store everything within home directory you can omit both -conf and -datadir options.-datadir is a path to a directory (possibly on a separate volume) where all the blockchain data will be stored.-conf parameter needed to specify configuration file which will be created within the abovementioned data directory, so we override that back to default location.-printtoconsole allows for the output to be displayed right back to console instead of being written to the file. If you skip that you can still get logs later with tail -f /mnt/data/dogecoindata/debug.log (or /home/doge/.dogecoin/debug.log for default location).
The process on blockchain synchronization might take a while, so if you are using remote instance it’s better to run everything using screen utility. It will keep your shell alive as well as the processes spawned within it in case of connection loss or other issues with ssh.
1 | $ screen -S doge |
will create a named doge session and Ctrl+A, D sequence will deattach from it keeping everything in the background.
1 | $ screen -ls # list all active sessions |
Here -ls option lists all active session and -r flag restores a session specified by it’s name.
Creating a service
Launching process manually and maintaining screen sessions might be a bit unconvenient, so we want a deamon to start on system startup and to be restarted in case of any issues. For that create a systemd configuration file
1 | $ sudo vim /etc/systemd/system/dogecoind.service |
and put the content below into that file
1 | [Unit] |
Two most important things here are command that launches a daemon (slightly modified version of what you’ve already seen) and definition of user/group pair owning the process. Now we need to launch it and enable service on startup.
1 | $ sudo systemctl start dogecoind |
Last statement checks status of the process and you are looking for active (running) state in the output. Again, to check logs we need to look at debug.log file
1 | $ tail -f /mnt/data/dogecoindata/debug.log |
Go for a long coffee-break as downloading of all the blocks might take from couple of hours up to a full day.
Configuration file
Create configuration file for your daemon if hadn’t have yet vim /home/doge/.dogecoin/dogecoin.conf and put these content into it
1 | rpcuser=dogerpcuser |
Do not reuse password provided as an example here and generate something from your random string with
1 | $ echo "my random string" | md5sum |
Current config file will be mostly used by RPC clients like native dogecoin-cli or python-dogecoin. For other parameters see complete list of available options.
You might need to restart your current dogecoind service in case you have modified any of the settings within configuration file
1 | $ sudo systemctl restart dogecoind |
Validation
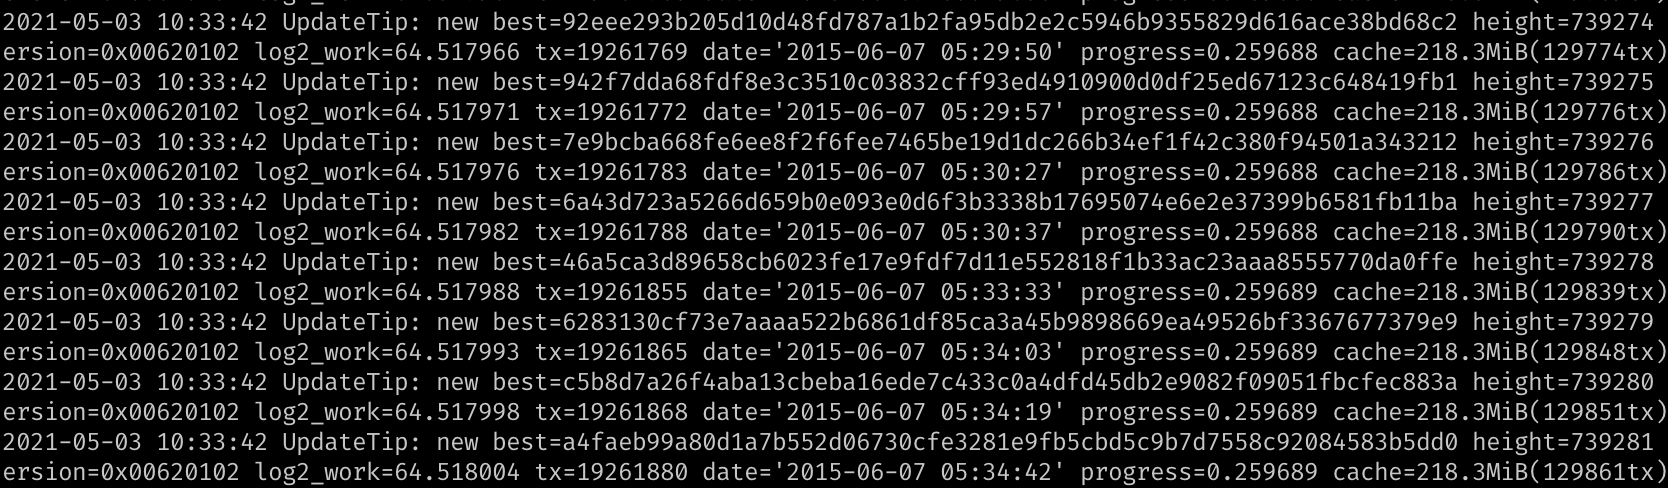
Once you see progress=1.000000 in the logfile it means that the full blockchain has been downloaded and you are ready to interact with it.
Here’s couple of commands you can use to test your installation
- validate Dogecoin address
1 | $ which dogecoin-cli |
- get wallet address for the account (creates new acc if doen’t exist)
1 | $ dogecoin-cli getaccountaddress "myaccount" |
- check balance for the account
1 | $ dogecoin-cli getbalance "myaccount" |
Conclusion
I hope this tutorial was detailed enough to give all information needed to create fully working Dogecoin network node from bare Ubuntu instance. Now you can start building applications to interact with blockchain or just participate in supporting the network.
If you still have questions you can post in this amazing Reddit community or create new issue on Github.
Note: running a network node is not equal to mining Dogecoins, so you will not receive anything like transaction fee or block reward for doing this. Personally, I’m not encouraging mining at all (see my position on that in INVALID POST SLUG PROVIDED /crypto-is-the-future-afc2e832bb5b/), so if you are looking to do that it’s better to check services like unMineable.
See you later and remember
Do Only Good Everyday!