Signing your github commits with GPG keys

If you ever wondered how to sign your commits (to assure others that it was you who really did the commit) or just wanted a nice Verified label right after your commit message on github page - you opened the right article to follow.

Installing requirements
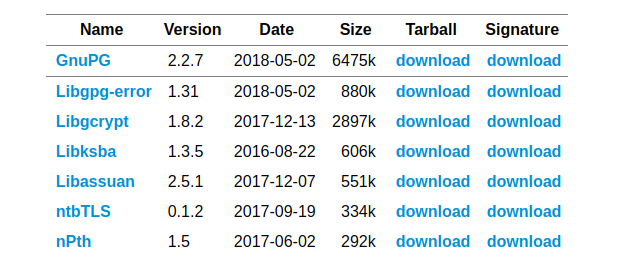
First you need to install GPG command line tools allowing you to create a personal key which will be using to sign your commits. We need to install libgpg-error, libgcrypt, libksba, libassuan, ntbTLS and nPth.
1 | $ mkdir /tmp/gpg |
Optionally, after downloading an archive you might check the file not to be broken and downloaded correctly. Just invoke sha1sum executable on a file and check the output with the one provided on the site (at the bottom of the page).
1 | $ sha1sum libgpg-error-1.31.tar.bz2 |
If checksum is the same unpack the archive and build libraries from source code, otherwise try to download it again or by using curl or your browser.
1 | $ tar -xvf libgpg-error-1.31.tar.bz2 |
You won’t see any success message so just check the output to contain Libraries have been installed in without any critical warnings. Just follow the procedure with every item in the list below
Check that we have our new fresh version installed
1 | $ gpg --version |
Install Pinentry
Pinentry is a collection of passphrase entry dialogs which is required for almost all usages of GnuPG and therefore is required to be install. The good news is that the installation process is completely the same. Also you need to choose any GUI backend (gtk/gnome/qt etc) and make sure at least one is installed (you can always sudo apt-get install gtk2.0 if in doubt)
1 | $ wget https://www.gnupg.org/ftp/gcrypt/pinentry/pinentry-1.1.0.tar.bz2 |
NOTE: on MacOS system just use brew to seamlessly install gpg: brew install gpg. See this answer in case of any issues.
Generating new key
1 | $ gpg --full-generate-key |
Press Enter to choose all the default values RSA and RSA but only change keysize from 2048 to 4096.
Your key has been generated and you can list of all the keys available on your system with
1 | $ gpg --list-secret-keys --keyid-format LONG |
Now we are ready to add that key to our Github account. Just follow the instructions here and insert an output from the command below
1 | $ gpg --armor --export <your-key-id> |
where your-key-id is the second part of the listing keys output rsa4096/<your-key-id> after the slash.
Now you are ready to configure git signing commits for a given repository or globally
1 | $ git config commit.gpgsign true # current repository |
And when creating your next commit do not forget to provide -S flag:
1 | $ git commit -S -m "My first signed commit" |
NOTE: you might omit -S flag if commit.gpgsign git config is set to true
Watch a nice label on your commits history on Github. Happy coding!